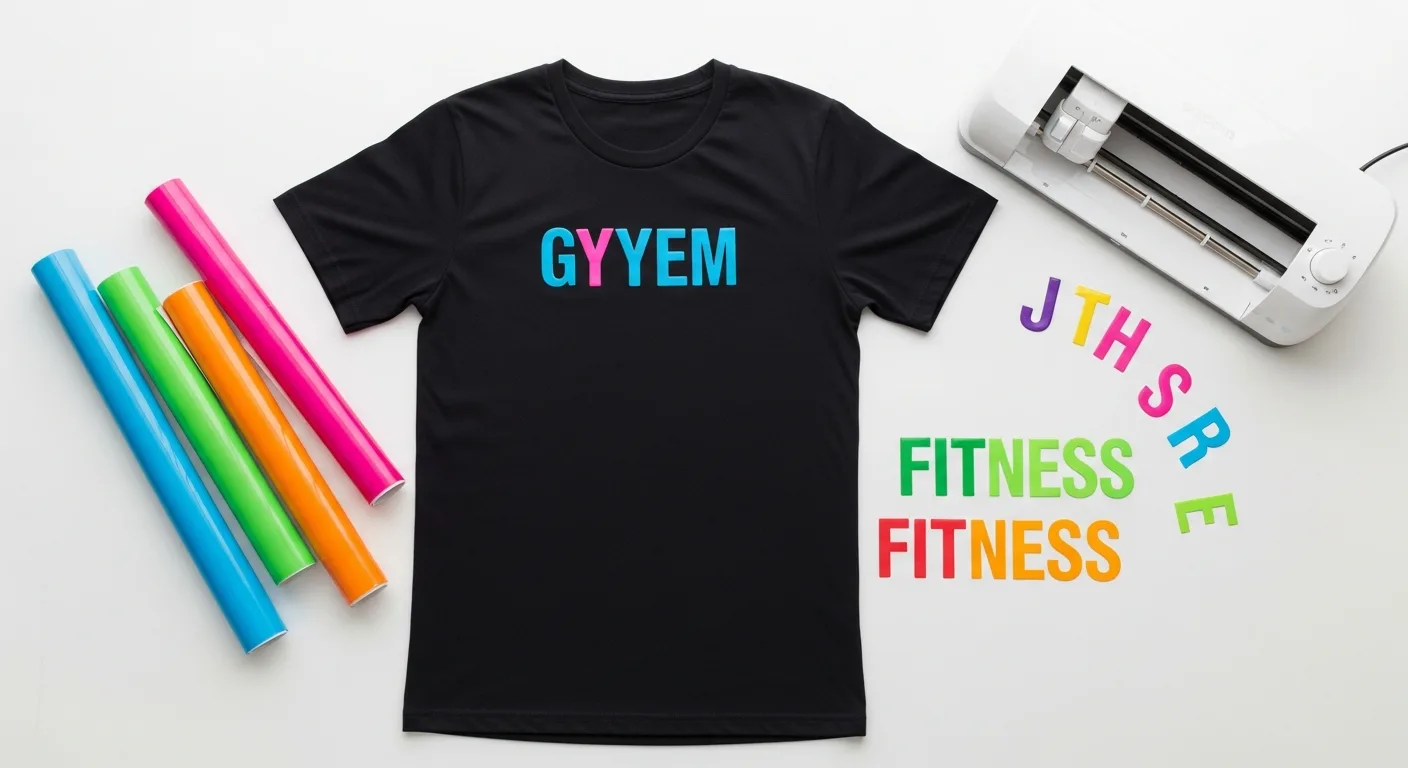
How to Make Custom Workout Shirts with a Cricut
Why settle for the same generic fitness apparel everyone else is wearing when you can design your own? Making custom Cricut workout shirts has become incredibly popular for fitness teams, powerlifting crews, and individuals who want highly specific motivational quotes that big brands simply do not print. A designed for training tee that you cut and press yourself carries a different level of pride.
However, applying vinyl to athletic wear is vastly different from pressing it onto a standard craft-store t-shirt. Gym shirts are subjected to extreme stretching, abrasion from barbells, heavy sweat, and frequent washing. If you use the wrong vinyl on the wrong base fabric, your design will peel off during your first warmup set. In this complete guide, we cover the best base shirts for athletic customization, the correct HTV (Heat Transfer Vinyl) choices, and the exact heat settings needed to make printed gym t shirts that last.
Choosing the Best Base Shirts for HTV
The success of your custom gym shirt depends entirely on the blank shirt you start with. Not all fabrics accept heat transfers equally.
- Cotton and Cotton/Poly Blends: These are the easiest fabrics to work with. Standard HTV adheres beautifully to the natural fibers. They provide a stable pressing surface. Ideal for heavy lifting shirts where extreme moisture wicking is not required.
- 100% Polyester (Performance/Dri-FIT): Polyester is tricky because it is sensitive to high heat (it can melt or scorch) and it stretches. You MUST use a specific "Sport" or "Stretch" HTV designed to move with the fabric. Alternatively, 100% light-colored polyester is perfect for Sublimation printing, where the dye permanently binds to the plastic fibers without leaving a raised vinyl texture.
- Tri-Blends and Slub Knits: Avoid these for intricate designs. The uneven texture of slub fabrics makes it hard for the vinyl adhesive to grip smoothly, leading to premature peeling.
- Fabric Weight: Aim for a blank shirt in the 160-180gsm range. Extremely thin athletic shirts (under 140gsm) will pucker around the edges of a heavy vinyl design.
The Step-by-Step Process for Gym Shirts
Making unique gym tees requires precision. Follow these steps tightly:
- Design & Mirror: Create your design in Cricut Design Space. Always remember to mirror your image before cutting HTV.
- Cut & Weed: Select the correct material setting (e.g., "SportFlex Iron-On" if using stretchy vinyl for performance shirts). Weed away the excess material carefully.
- Pre-heat the Shirt: Run your EasyPress over the blank shirt area for 5 seconds to remove moisture and wrinkles.
- Press with Precision: For standard HTV on cotton blends, 315°F for 30 seconds is typical. For 100% polyester athletic wear, lower the heat to 305°F to avoid scorching the synthetic fibers, and use a SportFlex vinyl. Always use a Teflon sheet between the press and the plastic carrier sheet.
- Peel Correctly: Check your specific vinyl instructions. Some require a hot peel, others a cold peel. Getting this wrong will ruin the adhesion.
Top Picks
As an Amazon Associate I earn from qualifying purchases.
Washing Custom HTV Shirts
You spent an hour designing and pressing the perfect shirt; do not ruin it in the laundry. Wait at least 24 hours after pressing before washing. Always wash inside out to protect the vinyl from the agitator. Use cold water, avoid fabric softeners, and strictly air dry. The heat of a tumble dryer will re-melt the HTV adhesive, causing the edges of your design to curl and peel.